When the “first use” screen is normal vs truly stuck
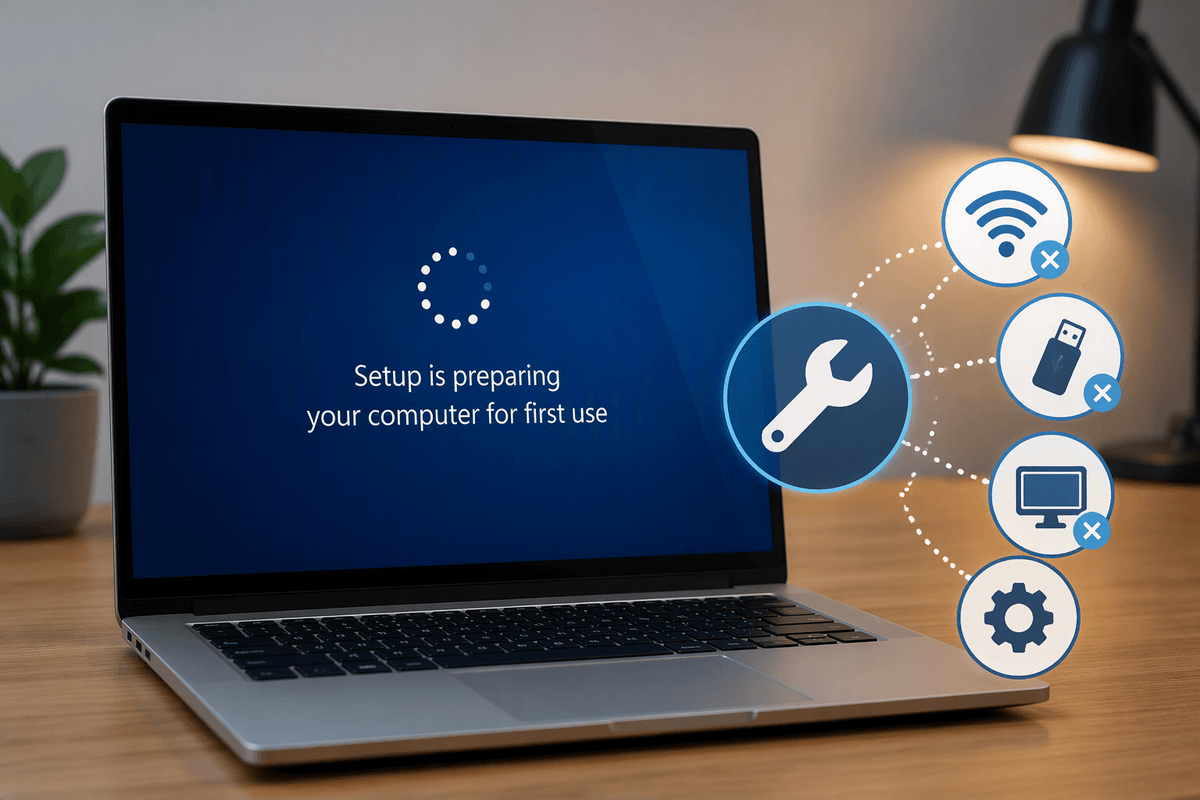
You’ll sometimes see “Setup is preparing your computer for first use” sit there while Windows finishes device detection, creates user profiles, and applies bundled drivers. On a modern SSD, that’s usually 2–15 minutes; on an older hard drive it can be 20–45 minutes, especially after a major update or on a slower laptop. If you see disk activity light flickering or the fan ramping up and down, it’s often still working.
It’s more likely truly stuck if the screen hasn’t changed for 60–90 minutes, the system has rebooted back to the same message multiple times, or you’ve left it overnight with no progress. A common trap is assuming it’s safe to power-cycle repeatedly; frequent hard resets during this phase can corrupt the setup and turn a recoverable stall into a repair job.
Quick checks that often unfreeze setup in minutes
If you’re past the 60–90 minute mark, start with low-risk checks that don’t change data. First, give it one clean reboot: hold the power button for 10 seconds, wait 10 seconds, then power on and let it sit for another 15 minutes. If it immediately returns to the same screen, shut down again and unplug power (and remove the laptop battery if it’s removable) for 30 seconds to clear a “half-awake” state, then boot normally.
On desktops, also reseat the Ethernet cable and try a different port or switch; a flaky link can leave setup waiting on network tasks. If you can get into BIOS/UEFI, confirm the system drive is detected and the date/time look reasonable (wildly wrong time can break sign-in and update steps). Avoid repeated resets; cap yourself at two forced power-offs before moving on.
Remove the usual blockers: internet, USB devices, extra displays
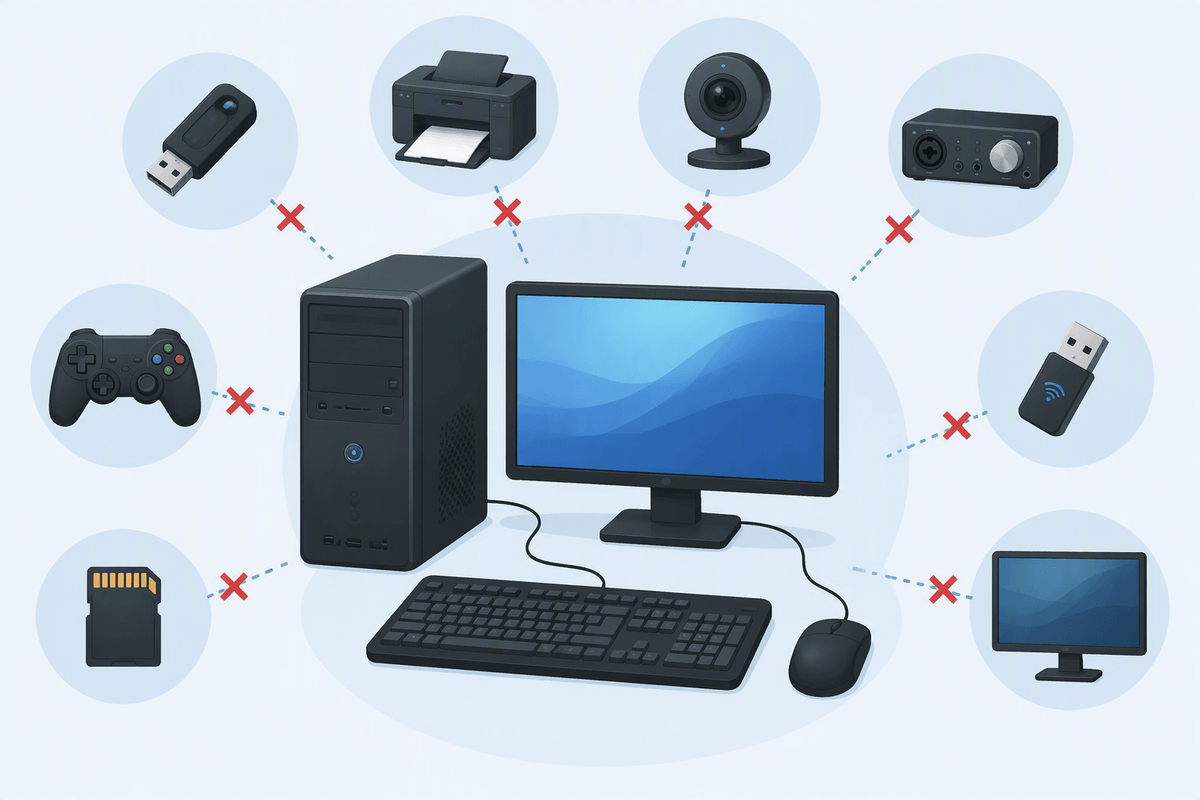
A lot of “preparing for first use” stalls are caused by something Windows is trying to talk to. Start by stripping the setup down to basics: keyboard/mouse (preferably wired), the system drive, and the built-in display. Unplug everything else—USB storage, docks, printers, webcams, audio interfaces, game controllers, Wi‑Fi dongles, and any SD cards. If you have two monitors, disconnect the extra display and use the primary GPU output; some setups hang while negotiating resolution/HDMI handshakes.
Then test the network both ways. If you’re on Wi‑Fi, switch to Ethernet; if you’re on Ethernet, unplug it and try an offline setup pass. Windows can get stuck while downloading drivers/updates or waiting on a captive portal. The trade-off is time: offline setup may finish faster, but you’ll do updates and driver installs after you reach the desktop.
If it keeps looping: use startup repair and safe-mode options
If it boots, shows “Setup is preparing your computer for first use,” reboots, and lands on the same message again, stop forcing normal boots and go to the recovery options. Power on, and as soon as you see the Windows logo/spinning dots, hold the power button to turn it off. Repeat that 2–3 times and Windows should enter Advanced startup (WinRE) automatically.
From there, try Startup Repair first. If it can’t fix it, go to Advanced options → Startup Settings → Restart, then choose Safe Mode (or Safe Mode with Networking if you need it). If Safe Mode reaches a desktop, you’ve learned the core install is intact and a driver/update step is likely hanging OOBE. At that point, remove any recently attached hardware, then reboot normally and see if setup continues. A practical constraint: BitLocker (common on laptops) can prompt for a recovery key in WinRE, so have that available before you begin.
Reset the setup experience without wiping everything
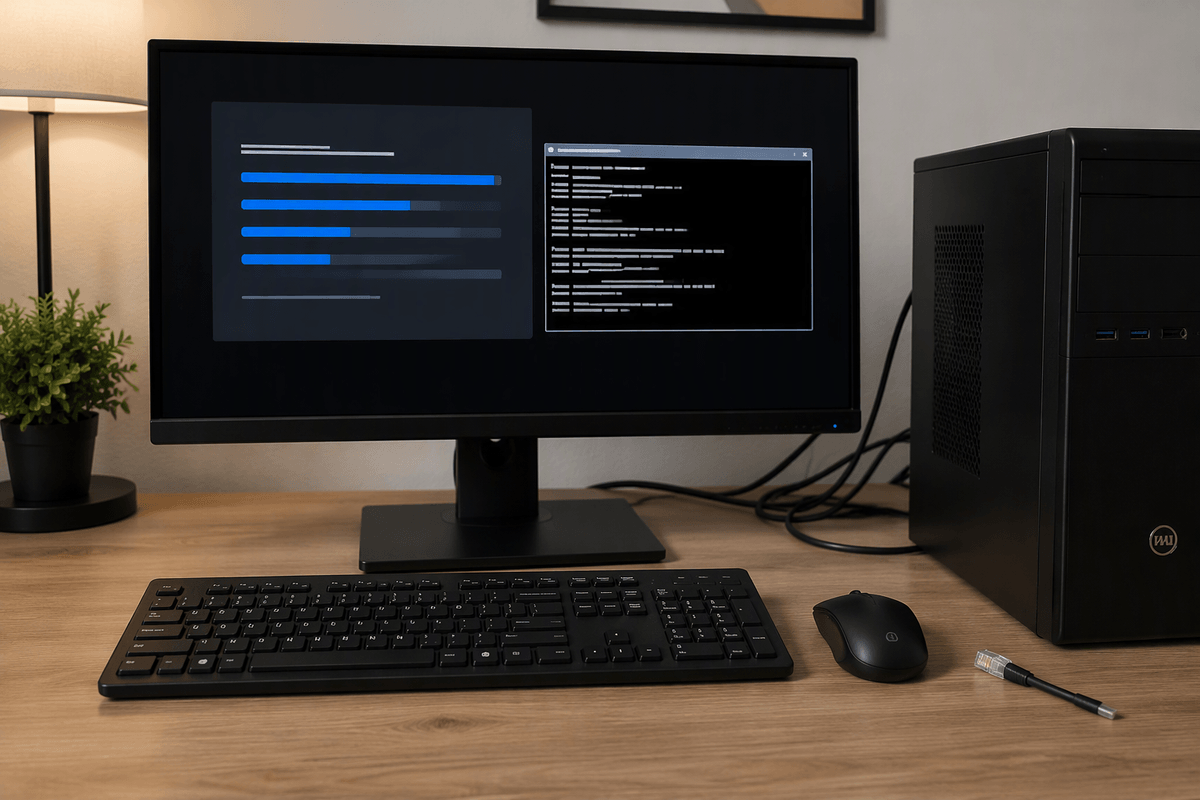
If Safe Mode works or WinRE loads reliably, you can often reset the “first use” experience without touching your personal files. In WinRE, open Advanced options → Command Prompt. If you’re asked for a BitLocker recovery key, you’ll need it to access the Windows drive. Then identify the Windows partition letter (it’s often C: in normal boot but can be D: in WinRE). Once you’ve confirmed it (for example, by running dir and seeing the Windows folder), rename the OOBE state folders so Windows rebuilds them on next boot.
Practically, that means renaming \Windows\System32\oobe and \ProgramData\Microsoft\Windows\OOBE (where present) by adding “.old” to the end. Don’t delete them; keeping a rollback copy matters if something goes sideways. Reboot and try setup again with only basic peripherals connected and (if it was stalling on downloads) the network unplugged. The cost is time: the next boot can be slow while Windows regenerates setup components.
When repair fails: backup, reset, or reinstall cleanly
Sometimes the setup image is just damaged enough that OOBE never completes. Before you wipe anything, use WinRE to grab what matters: plug in an empty external drive, go to Advanced options → Command Prompt, and copy user data out of \Users (and anything on the desktop/Documents) with File Explorer (if available) or command-line copy tools. If BitLocker is on, you’ll need the recovery key to read the drive. This step can take a while on slow disks, but it’s the difference between “resetting Windows” and “losing files.”
Once you have a backup, use Troubleshoot → Reset this PC. Try Keep my files first; it replaces Windows system files while preserving your profile, but you’ll still need to reinstall apps and some drivers. If that fails or the machine immediately falls back into the loop, choose Remove everything or do a clean reinstall from a Windows USB installer. The clean route is the most reliable, but it costs the most time because you’re rebuilding everything from scratch.
After it boots: prevent the problem on the next setup
Once you reach the desktop, treat it like a “stabilization pass” before you ever run setup again. Let Windows sit plugged into power for 20–30 minutes, then run Windows Update until it says you’re fully up to date (including optional driver updates if you trust the vendor). If it’s a brand-name PC, install the manufacturer’s chipset/storage and graphics drivers from their support page rather than relying on whatever OOBE pulled mid-setup. Check Device Manager for unknown devices and fix those while the system is working.
Before a future reset or reinstall, disconnect non-essential USB gear and extra monitors, and avoid docks during first boot. If you suspect captive Wi‑Fi, plan to do OOBE offline and connect after you’re at the desktop. The practical cost is time: doing drivers and updates up front can take an hour, but it’s far faster than recovering from another loop.
A simple decision path to get unstuck quickly
If it’s been under 45 minutes on a hard drive (or 15 minutes on an SSD) and you still see signs of activity, wait. If it’s 60–90 minutes with no change, do one clean forced shutdown and reboot, then stop after a second try. If it loops back to the same screen, disconnect all non-essential USB devices and extra displays, then try once with internet unplugged (or switch Wi‑Fi/Ethernet). If it still won’t pass, go to WinRE: run Startup Repair, then Safe Mode. If Safe Mode works, reset OOBE state and reboot. If WinRE can’t stabilize it, back up from WinRE, then Reset this PC (Keep my files), and clean reinstall only as the last resort.