Why Move Photos to Your Phone?
Moving photos from a computer to a phone makes them easier to share, edit, print, or keep available while you are away from your desk. You may want to send recent family pictures, upload images to social media, use a photo as a contact image, or store a backup before deleting files from the computer. The best method depends on how many photos you are moving and where the files are stored.
A USB cable usually handles large batches quickly and preserves the original files. Cloud storage is convenient when both devices have internet access, while wireless sharing works well for a few nearby photos. Messaging apps may be simplest, but they can reduce image quality or create extra copies. Choosing based on speed, convenience, storage space, and quality helps prevent problems later.
Choose the Transfer Method That Fits
Start with the number of photos, the distance between your devices, and whether you need the original image quality. For a large folder or several videos, a USB cable is usually the most dependable choice because it transfers files directly and does not depend on internet speed. It also avoids filling cloud storage or mobile data.
Cloud storage is more convenient when your computer and phone are used in different places or when you want the photos available on both devices later. It can take longer to upload, however, and free storage limits may require you to remove older files or pay for more space. Wireless sharing, including Bluetooth, works without cables but is better suited to a small number of photos and may be slow with large files. Messaging apps are convenient for sending a few images, but some automatically compress them. Choose the method that matches the job rather than using the quickest option by habit.
Transfer Photos With a USB Cable
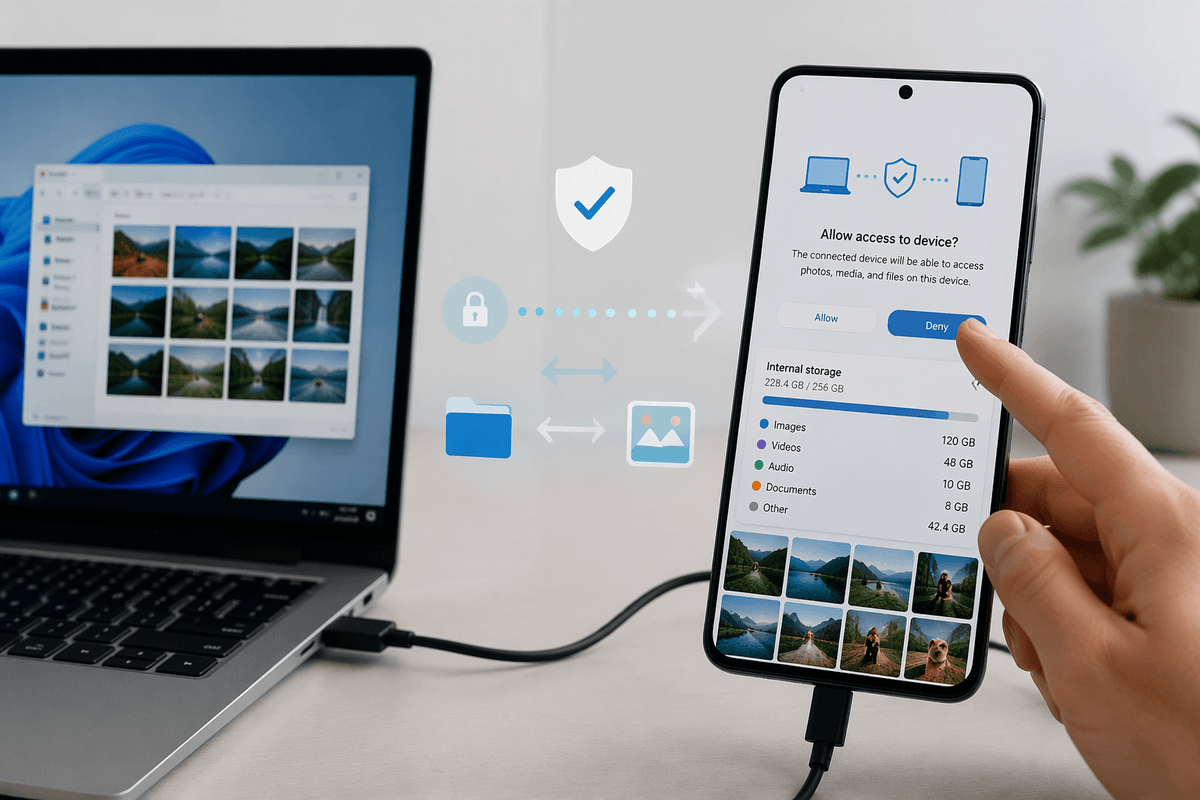
Connect your phone to the computer with a USB cable that supports data transfer, not charging only. Unlock the phone and watch for a prompt asking what to do with the connection. On many Android phones, choose “File Transfer” or “MTP.” The phone should then appear in File Explorer on Windows or in the computer’s file manager. Open the phone’s storage, locate the DCIM or Pictures folder, and copy the selected photos from the computer into a suitable folder on the phone.
iPhones usually appear on a Windows computer after you tap “Trust” on the phone and approve access. On a Mac, photos can often be imported through the Photos app, while Finder can manage files and synchronization. Keep the cable connected until the copy finishes, especially when moving a large folder. A loose connection can interrupt the transfer and leave incomplete files.
USB transfer is fast and keeps the original resolution, but it requires the correct cable and enough free space on the phone. If the computer does not recognize the device, try another USB port, unlock the phone again, or replace the cable before repeating the transfer.
Use Cloud Storage Across Devices
Cloud storage is useful when your computer and phone are not together or when you want the same photos available on both devices. On the computer, open a service such as Google Drive, iCloud Drive, OneDrive, or Dropbox, then upload the selected photos into a clearly named folder. Wait for the upload to finish before closing the app or shutting down the computer.
Open the same service on your phone and sign in to the matching account. Find the folder, select the photos, and choose the option to download them to the phone if you need offline copies. Some services show photos without storing the full files locally, so check that the images are actually available before leaving Wi-Fi. Cloud storage preserves the original files when you upload and download them, but it depends on internet speed and available space. Large videos or full photo libraries may take considerable time, use mobile data, or exceed the free storage limit. For reliable results, use Wi-Fi, keep both apps updated, and avoid deleting the computer originals until the cloud upload and phone download are complete.
Try Wireless Sharing for Quick Transfers
When only a few photos need to move between nearby devices, wireless sharing can be faster to set up than a cable. Android phones commonly use Quick Share, while iPhones and Macs can use AirDrop. Select the photos in the computer or phone’s photo app, choose the sharing option, and select the nearby device. Accept the transfer on the receiving device, then check its Downloads, Pictures, or Photos folder.
Bluetooth can work when the devices support file sharing, but it is usually slower and may require pairing first. Keep both devices close together, turn on Wi-Fi and Bluetooth when the sharing feature requires them, and make sure visibility or receiving permissions are enabled. Wireless transfers generally preserve the original file when using dedicated sharing tools, although the process may take longer for large batches. Messaging apps are less reliable for quality because many compress images automatically. For privacy, accept transfers only from devices you recognize and turn off discoverability afterward if you do not need it.
Keep Photo Quality and Files Organized
After the transfer, check whether the photos are still the quality you need. Open one or two files on the phone and compare their resolution or file size with the computer originals. A dedicated USB or wireless sharing tool usually keeps the original file, while messaging apps may create smaller compressed copies. If you need to print, edit, or archive an image, keep the original version rather than relying on a compressed attachment or screenshot.
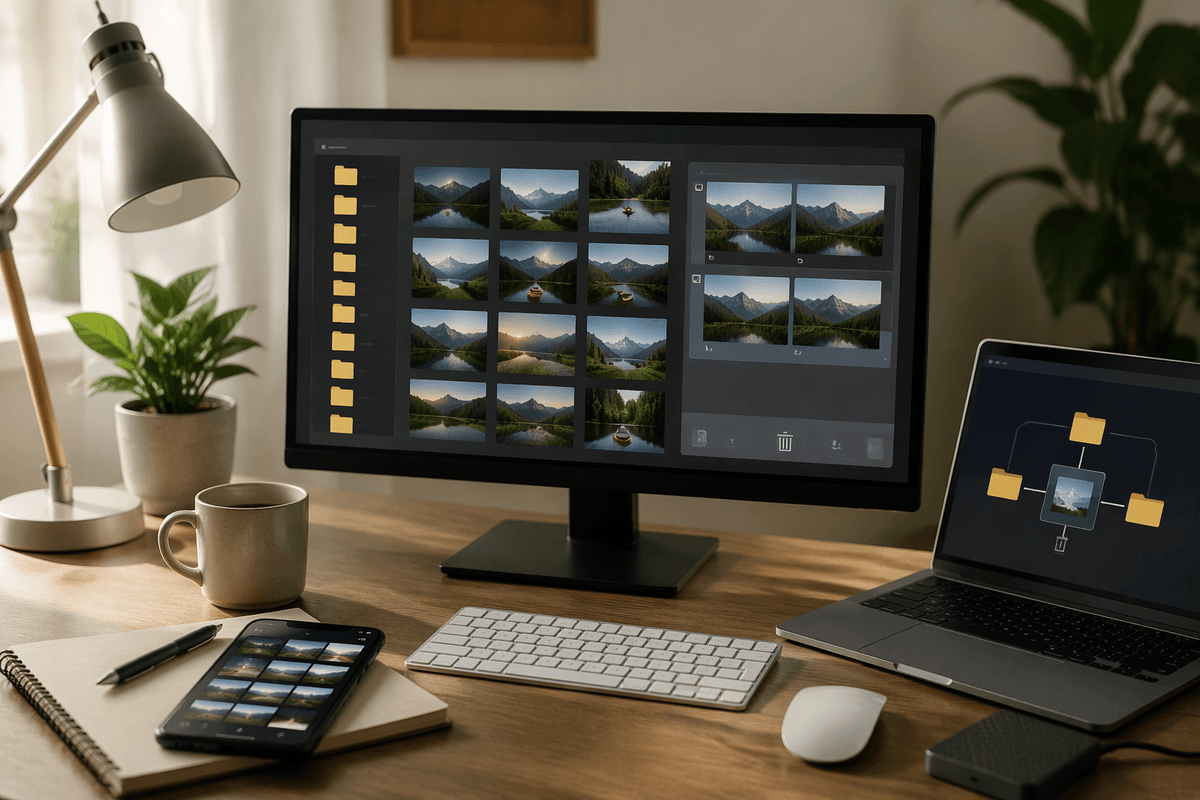
Organization also prevents confusion when several copies exist. Store transferred photos in a named folder such as “Family Trip—June 2026” instead of leaving them mixed with downloads and screenshots. Use meaningful filenames when practical, and avoid renaming files while they are still transferring. Before deleting anything from the computer, make sure the phone contains the complete set and that important photos open normally. Remember that keeping copies on both devices uses storage space, so remove duplicates only after deciding which location is your primary backup. A small amount of sorting now makes the final safety check much easier.
Confirm the Photos Arrived Safely
Before deleting the originals or disconnecting a cloud account, open the transferred photos on your phone. Check several images from the beginning, middle, and end of the batch, and confirm that they display fully without error messages, blank areas, or unexpected compression. If you moved videos, play at least one from start to finish. For a large folder, compare the number of files and total size with the computer copy.
Also check where the files were saved. Photos may appear in the Photos app, Downloads, Pictures, or a folder created by the sharing service. Keep the phone connected to Wi-Fi while cloud files finish downloading, and do not interrupt a cable transfer prematurely. Once the files open normally and the counts match, keep the computer originals until you have decided which device or backup will hold the permanent copy.